

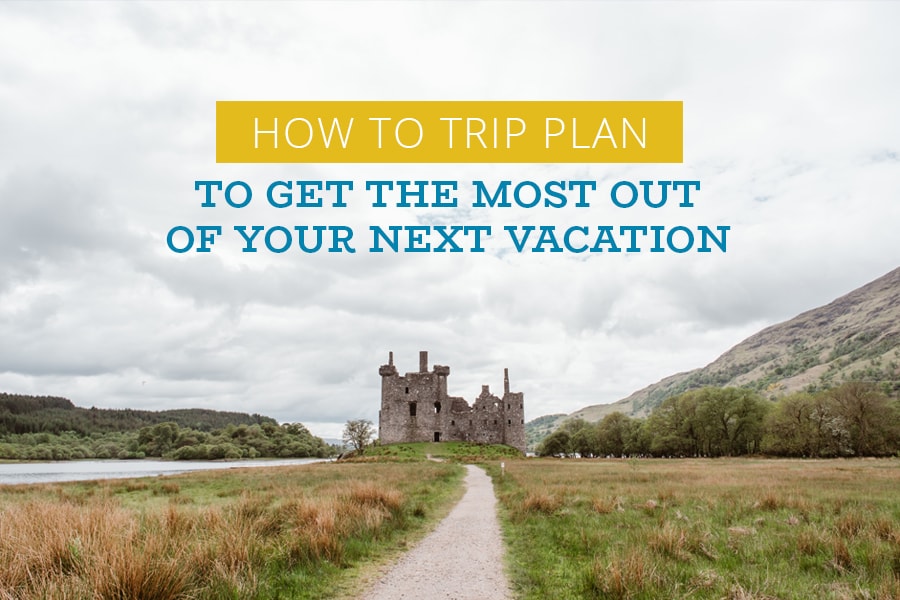
How to Trip Plan to Get the Most Out of Your Next Vacation
Planning a big trip can feel really daunting as you try to figure out how to start planning, research your destination, find the hidden gems in the area, and keep your ideas and plans organized. But the huge advantage to getting things planned out before you travel is that you don’t waste time or stress out over what to do and where to go. To make the most of your time on vacation, follow these steps to plan out an amazing trip!
Why plan a trip in detail?
This might sound like a bit much to do for a trip of only a week or two, especially if you’re not the type of person who likes to plan. I totally get it. But there are three reasons that I really love doing the research before I reach my destination.
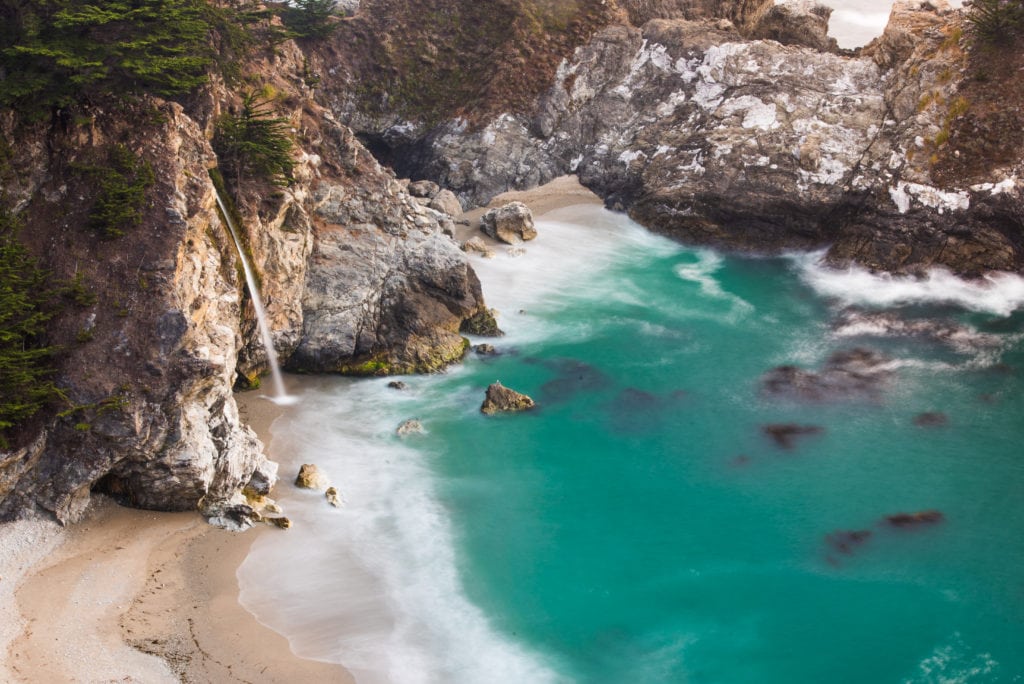
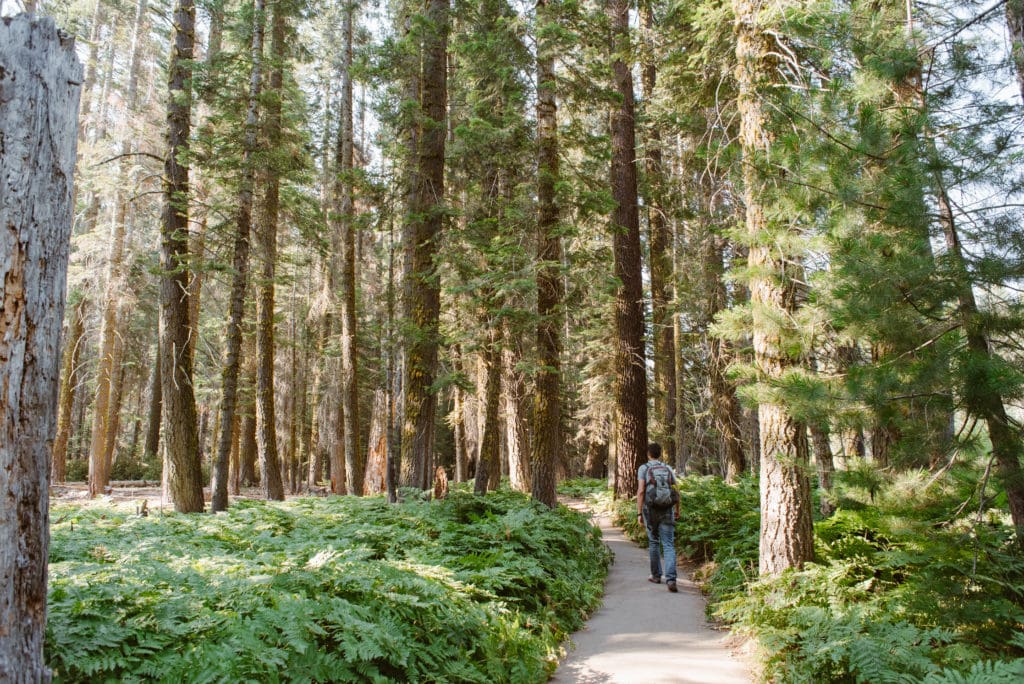
First, it helps me make the most of my time when I’m at my destination. One year we took a super last minute two-week camping trip through California. I didn’t have time to research hiking trails and specific things to do in each area, so we just had to wing it. I remember we wasted so much time driving from one end of Big Sur to the other to check out hiking trail recommendations at the visitor center, only to find out that it had just closed. So we had to drive back the next morning, which burned even more of our time. And to be honest, the trails that were suggested to us at the visitor center weren’t what I would consider the best in the area. So after that experience, I always try to scope out our options before we get there, especially if it’s an area without cell signal.
Doing research and planning ahead of time also helps you find some hidden gems! Usually visitor centers and basic tourist information aren’t going to tell you about the really cool spots that are off the beaten path and less trafficked. It does take a little bit of digging, but the internet is a wealth of information and can usually point out some amazing places with fewer people. And I’m all about that.
And honestly, I really love checking out where I’m going because it’s just one more way to enjoy the trip. The anticipation is greater, and I get so excited about all the things I’ll do and see. It also helps me learn more about the culture of the area. The more I read up on things, the better prepared I am. And after the trip, I know where I went and can pinpoint the locations for sharing with friends or visiting again.
Start with the basics
Okay, let’s get down to the nitty gritty of how to plan a trip. You’ll want to start by knowing the general area of where you’re going. Obviously a specific region or city makes things easier, but sometimes you’ve got lots of possibilities to narrow down. For instance, when we visited the UK last year, I knew we were going to be in Scotland starting in Edinburgh and ending in Inverness. But what should we see in between? There was literally a whole country to explore. I start off my planning the same way by doing some basic research and marking places of interest on Google My Maps. I have to say, this handy app is invaluable to the way I plan things and I can access my notes while traveling. I seriously love it. But more on that later.
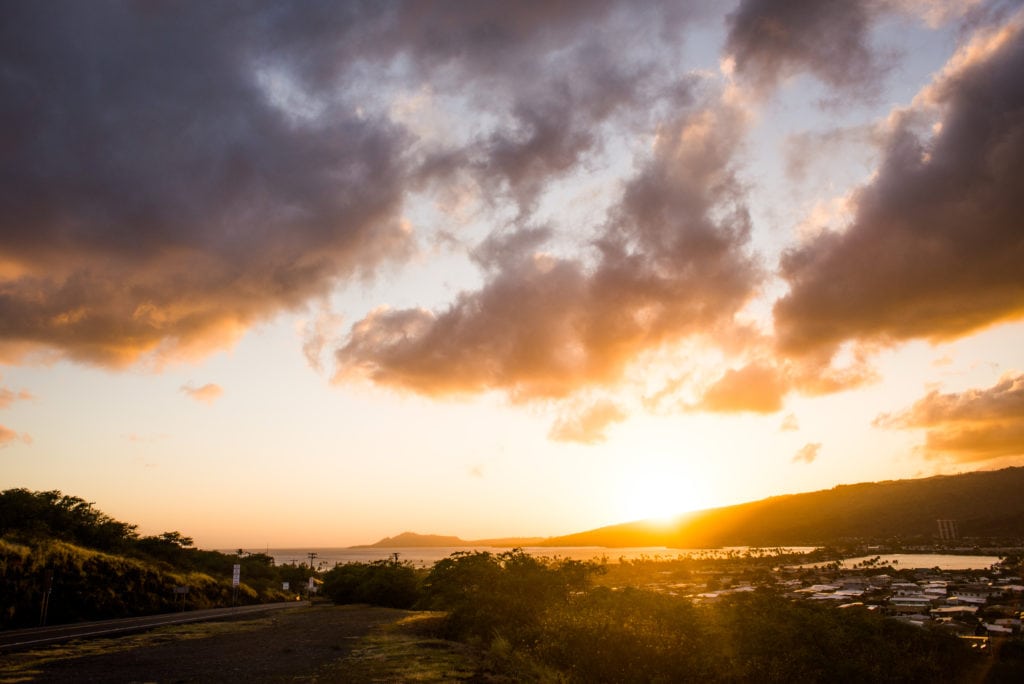
Whether I’ve got a huge area to consider (like all of Scotland) or something a bit smaller (like the island of Oahu in Hawaii), I start looking around for fun things to do and visit. A simple Google search, looking at TripAdvisor’s “things to do” in an area, or checking out big travel guides or sites can get you started. I’ve got a few more suggestions in my post on the best apps and tools to use for trip planning. These probably won’t point you to the hidden gems right away, but that’s okay. Just get a general idea on where things are and what kinds of things you can do. You’ll get the lay of the land (mountains in this area; drier climate over here; more accommodations and restaurants near this place, etc.) and will get a clearer picture of your options.
And that’s where Google My Maps comes into play. I start by making a map for this trip. It doesn’t have to be super specific yet, so I just title it by the area I’ll be visiting. (Side note: I prefer to use the website on my desktop while I’m in planning mode, and then the phone app while we’re traveling.) When I find a location that I’m interested in, I add a pin to the map by searching the name and clicking “add to map”. If there’s some basic information I can add, like “great hiking” or “best burgers” I’ll include that in the pin description. Since I’m just working on general stuff for now, I’ll refine my pins later.
Once you’ve got a good number of pins on the map, zoom out and look at the area. Do you have clumps of pins in some places? Was there something you ran across in your research that you absolutely must go to? Did you find out it’s better to stay in a certain area? Are some roads better to travel on? This will give you some idea of where you want to be. After doing this for our Scotland trip, I came up with a rough route between Edinburgh and Inverness. Loch Lomond interested me, Glencoe looked like it had amazing views, and Isle of Skye was a must-do. Now it was time to start refining my map and filling in the details.
Get Specific
Now you can start in on the real research and planning. You’ll want to start searching for things to do and places to go with more specific terms. For our Scotland trip, I then got down to looking up things to see, trails to hike, and places to eat at Loch Lomond, Glencoe, and Isle of Skye.
Where to look for trip ideas
Pinterest is probably my favorite place to find travel ideas. Why? Bloggers love to share their posts on Pinterest, and as a search engine platform, it’s easy to find their work. Travel blogs will give you way more details than a travel site or tourism pamphlet (at least the good ones will). Instead of just giving you a flowery overview of the point of interest, you’ll get tidbits like the time of day that’s least crowded, what the terrain is like, what to bring with you, what not to do there, the best season to visit, and more. You’ll probably also see open hours and admission fees listed (if applicable) and have a link to the official website or more information. And don’t forget to pin your favorite blog posts on your travel Pinterest boards, like I do!
AllTrails
And for hiking, I really love using the AllTrails website and app. You can take a look at the local trails and filter them by difficulty, area, or popularity. There’s typically a short description of the hike and reviews by other people who have been there (another great place to glean good tidbits!). A Google search for trails or “best trails” in an area can also come up with some helpful websites. You might find a great blog post with photos throughout the trail, or you could stumble on an amazing local database like I did. While searching for great hikes around Loch Lomond, I found this incredible “hill walking” (what Scots call hiking) resource for all of Scotland called WalkHighlands. It gave photos, descriptions throughout the trail, difficulty ratings, how boggy the trail was, and even audible pronunciations of the trail or mountain names. Amazing!
TripAdvisor
TripAdvisor and guide books can also give you some good tips on where to find interesting sites. The top “things to do” listings on TripAdvisor are usually pretty obvious and well known, but if you dig deep enough you may find something you’ve never heard of. For instance, as a part of our UK trip we spent a few days in London. We of course hit the major sites (so many to choose from!), but I also wanted to find some lesser known spots. Several pages into TripAdvisor, I found an amazing park made from ruins of a church bombed in WWII. It was near attractions we were planning to visit, but just far enough away that it wasn’t a touristy spot. And that ended up being one of our favorite places in London! So you never know what you might find.
Travel Guide Books
And when it comes to guide books, find a series or author that you love and who recommends the kinds of places you enjoy. If you like luxury travel, get a book that shows you the poshest places to visit. Or if you are like me and enjoy getting off the beaten path and out in nature, check out the Rough Guides travel books. I really loved their Scottish Highlands and Islands guide book and found some great hikes and places to eat while perusing the pages. If you’re more of a digital book person, check out your local library’s e-book collection or Hoopla’s e-book and audiobook titles. Digital information is a lot easier to take with you on your travels!

Decide Where To Stay
It may seem like deciding where to stay should be one of the first things to do when planning your trip. But I like to know what areas I’m interested in first so that I can find accommodations near where I’ll be doing most of my site-seeing. I personally love using Airbnb (click the link for $55 off your first stay!) and VRBO to find just the kind of lodging I’m looking for. Honestly, when I travel I don’t spend a lot of time in my room besides crashing at the end of the day to sleep. So I generally don’t mind getting smaller places that are inexpensive (but still clean and safe). Occasionally it makes more sense to get a hotel room or stay at an inn/bed & breakfast, in which case I use Priceline’s Express Deals (where you book a “mystery” hotel) or book with Hotels.com.
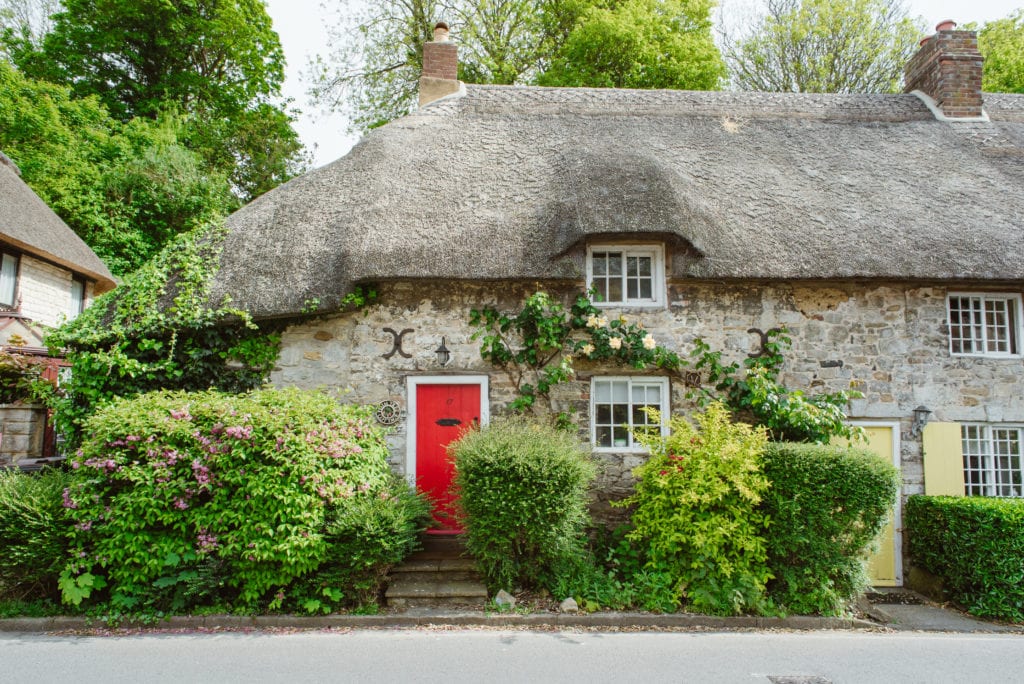
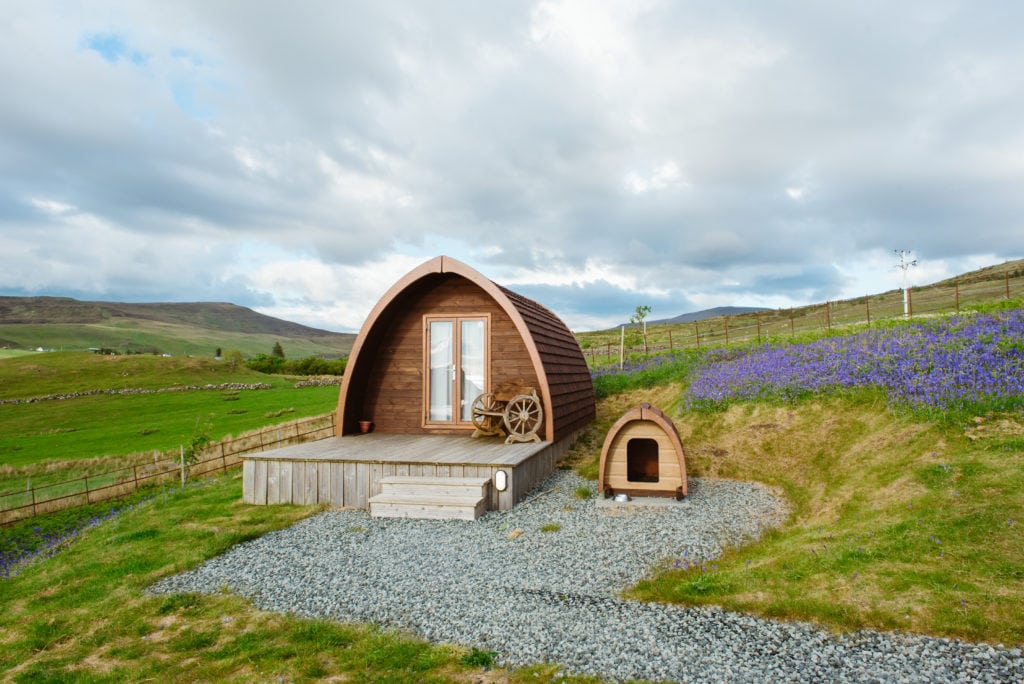
Once you’ve booked where you’re staying, go ahead and add the location to your pins. Now you can measure how far/long it will take to get to locations and see what’s around you. I also like to cruise around on the map and see if there’s anything of interest really close to my house/hotel. I did this in Uig for our Scotland trip and found a gorgeous .25 mile trail just a few minutes’ walk down from our shed (pictured below). It was a really cool hidden spot that I never would have heard of otherwise!
Make Reservations
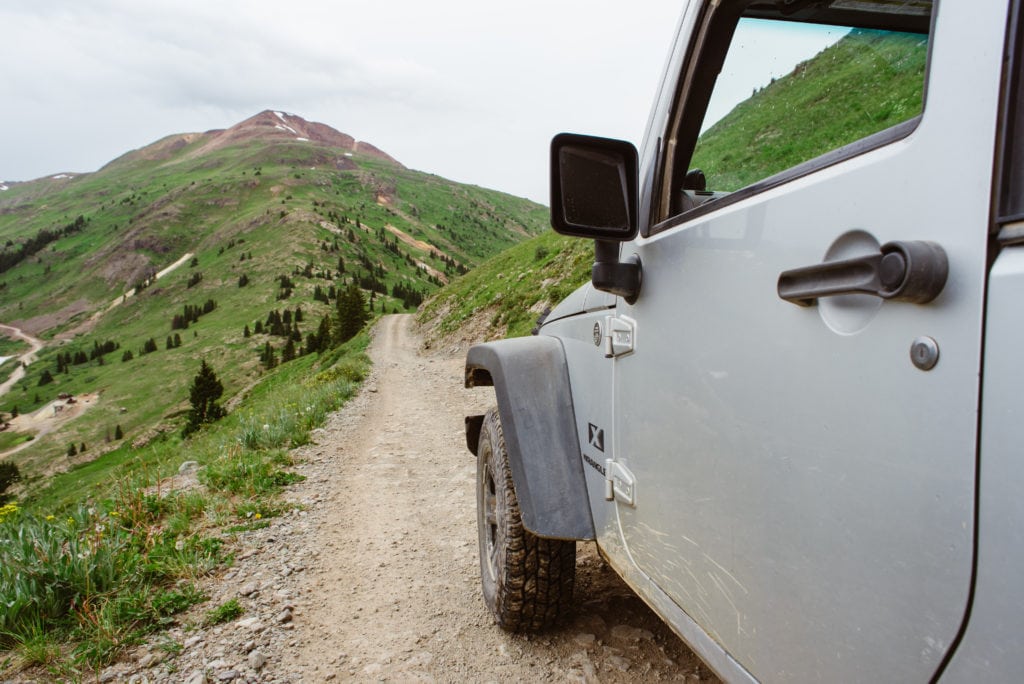
Now that you know where you’re staying and what kind of things you want to do and see, you’ll want to start booking things. If you need a rental car, look for pickup locations and add them to your map to see which is the most convenient to use. (Side note: I love using Costco to rent cars for a good price. We couldn’t use them in the UK, but we got a crazy deal on a Jeep to drive in Hawaii, which was perfect.)
Go back and delete any irrelevant pins once you finally book your rental car, and don’t forget to add the airport to your pins. If you’re traveling by train, subway, or bus go ahead and book your tickets or passes and include stations on your map. You’ll be happy you did when you’re on the street looking for a stop!
If you’ve made the final decision on what sites you want to visit, book any needed tickets ahead of time to save time and money. Mark the open hours or your exact ticket time in your pin description.
Refine your location pins
As you’re researching, keep adding pins to your trip map. You may want to go ahead and add the detailed information you’re gleaning to the description of each pin. If there’s a website associated with the location, MyMaps will have it linked on the pin for easy access. I also like to include links (with a little help from tiny url or bit.ly) to helpful websites or blogs at the bottom of my description. I also include open times, any fees to get in, what the location is like, best things on the menu to order, when it’s the least busy, and any other helpful information. If it’s a hard place to find, or you have to park in a different spot, I include the directions there as well.
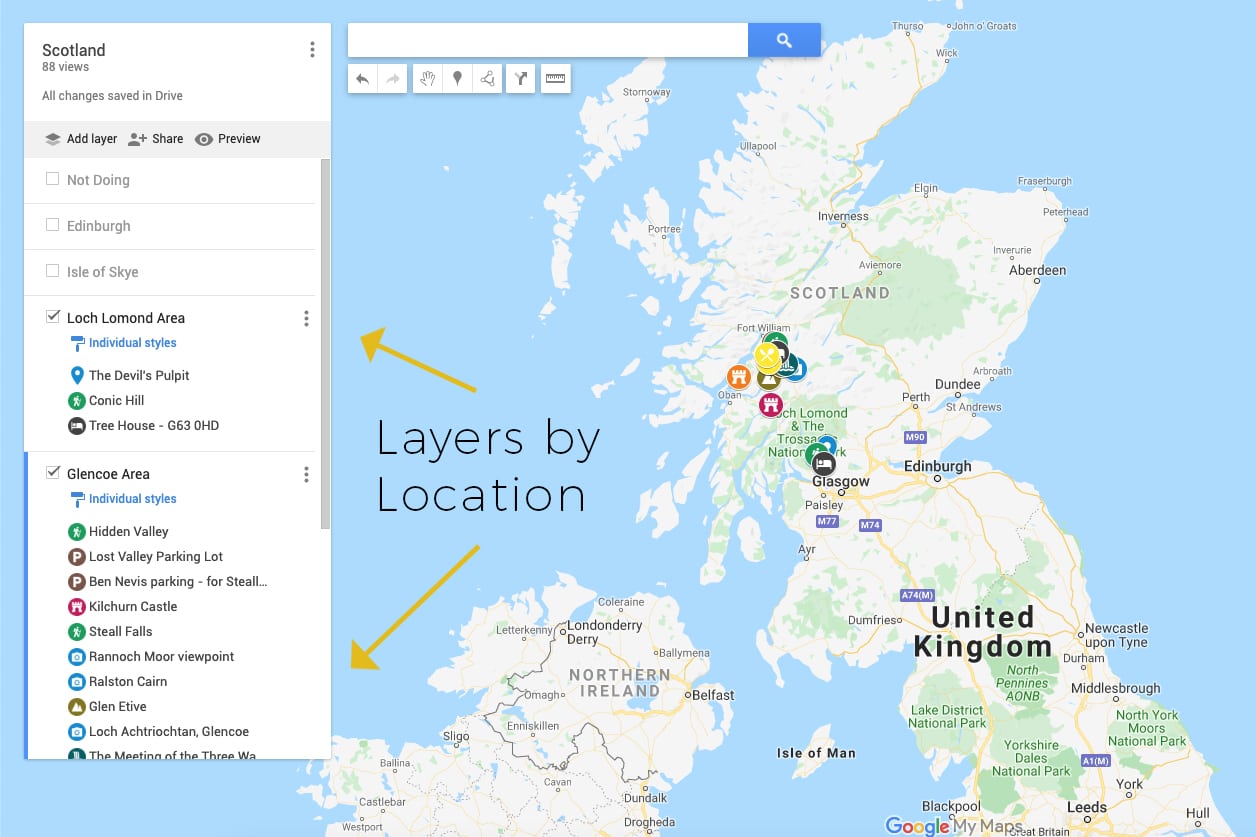
Add Layers
You’re probably starting to build up quite a collection of location pins now, and it might be feeling a little chaotic. At this point, I like to add layers to my map to organize and simplify my pins. On my Scotland map, I made a different layer for each region we’d be visiting. When we went to Oahu, Hawaii, I named layers based on the types of pins (hikes, restaurants, beaches, etc.). You could also make a layer for different days, different cities, or the sites you most want to see. Do whatever makes the most sense in your situation and helps you stay organized!
Prioritize Locations
At this point, you may also realize that you can’t do everything that you have pinned. I like to go through the list of pins with my husband and talk about what we’re most interested in doing. If there are a number of things that aren’t going to happen, I make a special layer for those and then hide it. That way I have them saved for future trips, but they aren’t cluttering my map. And if we’re having a hard time deciding what to do and not do, we rank the pins from most to least “want to do” within their layer by dragging them up and down. If pins at the bottom are a far distance from everything else or difficult to get to, they get moved to the “next time” layer or deleted.
Color Code Pins
I also like to use icons and icon colors to differentiate things just a little more. Again, do things whatever way makes the most sense to you. I use certain colors to make categories, and keep those the same on all my different trip maps. Then the icons can add a little more detail of what kind of pin it is in the category. For instance: bright yellow means it’s is a food place; the fork and knife icon means it’s a restaurant, the kettle icon means it’s a tea room, a beer mug icon means it’s a place to get drinks, and a shopping cart means it’s a market or grocery store. This might sound way too detailed, but it really helps when you’re looking at the map as a whole!
Schedule Your Days
Let me preface this by saying I’m actually not a super strict scheduler person. My average days are usually pretty “go with the flow” and unstructured. But I really value efficiency when traveling and want to make the most of my time and money, which is why I sometimes schedule out my trip days.
As you’re looking at your map, you may see that some things just make sense to do together. For instance, when we traveled to Oahu, we chose to do only one day of “touristy” things in the city of Honolulu (a wise choice because traffic and parking were no bueno!). We looked at everything we wanted to do in that area and then planned out the best order to do things in. It made sense to have breakfast at the restaurant we were interested in and then to walk to the aquarium and a nearby attraction to save money and time on parking. The rest of the places we wanted to visit were on the other side of the city, so we drove there and walked around to the other sites. And with my map, I knew where everything was so that we didn’t get lost or miss a spot.
This is also really helpful if you know what time of day a location is busiest or if it closes at weird hours. Having notes on approximately how long it will take you at each location also allows you to squeeze in the things you do have time to do without missing out on something. You don’t have to get super detailed with exact times, but knowing a rough time of day or preferred order to do things in can really help make your travel experience its best. In London we only had two days to see alllllll the things. Knowing that we had to leave Borough Market by 2:00 pm so that we had time to walk to St. Paul’s Cathedral and climb the viewpoint stairs to the dome before it closed allowed us to see everything we wanted to and not be disappointed.
Keep Your Plans Organized
I like to write out schedules, special notes (like the code to get in my Airbnb), and directions on Google Docs. I make a folder for the trip and keep everything in there where it’s easy to find. That’s also a great place to keep boarding pass screenshots, tickets, confirmation numbers, and maps. This was sooooo handy on our two-week trip all over the UK where we had so many train and museum tickets to keep track of. You can even make the folder into a shortcut on your phone or bookmark it on your browser for easy access while traveling and planning.
Now, Go Travel!
You’ve gotten everything researched, planned, and organized, so now get out there and travel! With all the work you’ve put into this, it’s going to be an amazing trip. But don’t forget that you can still take the time to explore something new or check out a local’s recommendation. The planning you did wasn’t to restrict you, but rather to help things go smoothly and give you more time to do what you love. So have fun and enjoy your trip!
If you want more tips on having an amazing trip, read about how to find the cheapest flight deals without having to travel hack. And don’t forget to use the best tools and apps for travel planning!
Leave a Reply

Julie Haider is an adventure elopement photographer & planner based in New Mexico and photographing destination elopements worldwide.
Mountain Elopement Guide


Adventure Elopement Ideas
Free Elopement Packing Checklist
New Mexico Elopement Guide
How to Elope
elopement Planning tips & Guides:
Contact me
Destination Elopement Photography
Elopement Packages & Pricing
Elopement Photography Info:
@juliehaider
View More adventure elopement photography on Instagram
© Julie Haider 2014 - 2026 | Terms & Privacy Policy